Elixir and Phoenix are a very exiting stack running in the Erlang VM. This Phoenix 1.5 tutorial will walk you through creating a simple Bookstore REST API with this platform.

Hi everyone, while I have been writing Erlang for the last few years, I only use it more as a systems/network services language and kept Python/Django as my main Web development stack. Some months ago I figured that my Erlang knowledge could easily be applied to the Elixir language and have just started using it with the Phoenix framework for some side projects and enjoying it as a web development stack. I’m going to start writing a series of tutorials about the things I learn on this road so you can learn too and enjoy as much as I do.
For this tutorial, we are going to write a simple Books REST API with database persistence using PostgreSQL. The requirements are to have a single endpoint on /api/books that allows CRUD operations over the books resource with the following fields:
- id - This is the table Primary Key and I prefer UUIDs over integer numeric.
- title - String containing the book title.
- isbn - Book ISBN.
- description - Text specifying the book description or abstract.
- price - Float specifying the book price.
- authors - String containing a comma-separated list of authors.
- inserted_at - Datetime defining when the record was created.
- updated_at - Datetime defining when the record was updated.
Prerequisites
To go ahead in this Phoenix REST API tutorial you must have the following prerequisites:
- Have some basic understanding of Elixir and it’s syntax. Otherwise, https://elixir-lang.org/learning.html offers great resources to get started.
- Have PostgresSQL installed. Hint, Postgres.app on OSX saves you a lot of headaches and time.
- Having an editor/IDE of your preference installed.
- Having Postman REST Client installed or know your way around curl.
Getting started
While there are many ways to install Elixir, this guide will follow a simple path using OSX as the operating system and the Homebrew package manager to install things. If you need to dig deeper or use a different Operating System, the official Elixir install guide covers it deeply https://elixir-lang.org/install.html.
Installing Elixir
-
Update your Homebrew packages to the latest with
$ brew update. -
Install Elixir with
$ brew install elixir. This will install the latest Elixir version as well as Erlang/OTP which Elixir runs on top of. -
We will need to install the Hex, the Elixir package manager as well, this could be done by running
$ mix local.hex
To check everything installed correctly, run:
$ elixir -vWhich should output:
Erlang/OTP 23 [erts-11.0.2] [source] [64-bit] [smp:4:4] [ds:4:4:10] [async-threads:1] [dtrace]

Elixir 1.10.3 (compiled with Erlang/OTP 23)
Note: Versions can vary depending on when you ran the above commands since homebrew always uses the most up to date versions.
Installing Phoenix
Now that we have Elixir and Erlang ready, let’s install the Phoenix application bootstrapping script with:
$ mix archive.install hex phx_new 1.5.3Creating the Phoenix project
Run in your terminal:
$ mix phx.new books_api --no-html --no-webpack --binary-id && cd books_apiExplained:
- You will notice books_api as a new directory after running the command, this is the application directory and name. Check the documentation about Phoenix app directory structure for more information.
-
The parameters
--no-html --no-webpackwill instruct Phoenix to not generate HTML files and static assets boilerplate. We do this since we are only interested in a rest API. -
The parameter
--binary-idwill configure Ecto to use binary ids (UUIDs) in database schemas.
Generally, mix commands follow the structure of mix task.subtask ARGS, if you just run mix task it will show the available subtasks and mix task.subtask will show the subtask parameters. Try it, you will be amazed by how well Elixir is documented and how intuitive it is.
Setting up the database
Before getting serious with our app, let’s setup it to connect to our database for development and testing purposes. To do that we need to edit config/dev.exs and config/test.exs in our application directory. The default settings look like:
# Configure your database
config :books_api, BooksApi.Repo,
  username: "postgres",
  password: "postgres",
  database: "books_api_dev",
  hostname: "localhost",
  show_sensitive_data_on_connection_error: true,
  pool_size: 10
You can now create the database for the dev environment with:
$ mix ecto.createIt can also be removed with:
$ mix ecto.drop
Hint: Set the environment variable MIX_ENV before the commands to switch the Phonenix environment, i.e. MIX_ENV=test mix ecto.create will create the database for the test environment.
Modelling our data
Before starting, may be valuable to dig into Phoenix Contexts which are in short a way to isolate our system into manageable, independent parts, think of it as an app in Django for example with better organization because it only encapsulates the data and business logic and not the web parts. In this case, we will design our app with a Store context that will have Books for now but could have Authors as a separate schema in the future with a relationship to the books.
Now we have everything we need to start creating our Books database model (Schema in Elixir’s Ecto terminology). To do so, run the following generator in the application directory:
$ mix phx.gen.context Store Book books \
title:string isbn:text:unique description:text price:float authors:array:string
Explained:
-
Storeis the context’s module name. -
Bookis the schema’s module name. -
booksis the Database table’s name. - The rest is field definitions. You can learn more about them on https://hexdocs.pm/phoenix/Mix.Tasks.Phx.Gen.Schema.html.
This command will generate:
- The Schema definition at lib/books_api/store/book.ex that maps the data stored in the database to Elixir data structures and adds validation:
defmodule BooksApi.Store.Book do
  use Ecto.Schema
  import Ecto.Changeset

  @primary_key {:id, :binary_id, autogenerate: true}
  @foreign_key_type :binary_id
  schema "books" do
    field :authors, {:array, :string}
    field :description, :string
    field :isbn, :string
    field :price, :float
    field :title, :string

    timestamps()
  end

  @doc false
  def changeset(book, attrs) do
    book
    |> cast(attrs, [:title, :isbn, :description, :price, :authors])
    |> validate_required([:title, :isbn, :description, :price, :authors])
    |> unique_constraint(:isbn)
  end
end- Context module at lib/books_api/store.ex with default CRUD queries for Books. These queries can be adjusted to your own needs to filter stuff or add more queries.
- Migration file at priv/repo/migrations/<timestamp>_create_books.exs. Migrations are were we introduce DB level constraints and indexes as needed. Unlike Django migrations, we cannot generate them automatically from schema changes so these need to be created manually as you edit your DB schema.
- Tests for the generated schema and queries.
Running Migrations
Once we are happy with our data schema and migration we can run the migrations with:
$ mix ecto.migrateGenerating the REST endpoints
Now that we have our DB schemas ready, let’s create the books JSON resource. To do so we will run a generator similar to the previous one to generate the Context and Schema:
$ mix phx.gen.json Store Book books \
title:string isbn:text:unique description:text price:float authors:array:string --no-context --no-schema
Explained:
-
The parameters
--no-context --no-schemawill ensure no context and schema are generated since we already have them from the previous step.
This command generates:
- A CRUD controller for the books at lib/books_api_web/controllers/book_controller.ex.
- View for rendering books JSON at lib/books_api_web/views/book_view.ex.
- Controller and View used as a fallback for rendering errors when a controller operation fails.
- Tests for the endpoints.
We need to edit the fallback controller and add a call/2 function to handle invalid supplied data and return a 422 error:
# This clause will handle invalid resource data.
def call(conn, {:error, %Ecto.Changeset{}}) do
    conn
    |> put_status(:unprocessable_entity)
    |> put_view(BooksApiWeb.ErrorView)
    |> render(:"422")
end
Adding the routes
At this point, we have data, queries to manipulate/query the data and controllers, views to manage that data over REST. Maybe everything works? let’s run $ mix test and figure out.
Oops, we can see some failures similar to:
  1) test delete book deletes chosen book (BooksApiWeb.BookControllerTest)
     test/books_api_web/controllers/book_controller_test.exs:90
     ** (UndefinedFunctionError) function BooksApiWeb.Router.Helpers.book_path/3 is undefined or private
     code: conn = delete(conn, Routes.book_path(conn, :delete, book))
     stacktrace:
       ...
It’s complaining about missing a book_path/3 function. To fix this, we need to add a route to map a URL to the controller. Add the books resource to your :api scope in lib/books_api_web/router.ex:
resources "/books", BookController, except: [:new, :edit]Running tests again should be all green:
$ mix test
................

Finished in 0.4 seconds
16 tests, 0 failures

Randomized with seed 824943
Running the App
Now let’s try running the app. For running the development server, run the following command on your terminal:
$ mix phx.serverOr run it while having an Elixir REPL (IEx) available with:
$ iex -S mix phx.server
Erlang/OTP 23 [erts-11.0.2] [source] [64-bit] [smp:4:4] [ds:4:4:10] [async-threads:1] [hipe] [dtrace]

Compiling 5 files (.ex)
Generated books_api app
[info] Running BooksApiWeb.Endpoint with cowboy 2.8.0 at 0.0.0.0:4000 (http)
[info] Access BooksApiWeb.Endpoint at http://localhost:4000
Interactive Elixir (1.10.3) - press Ctrl+C to exit (type h() ENTER for help)
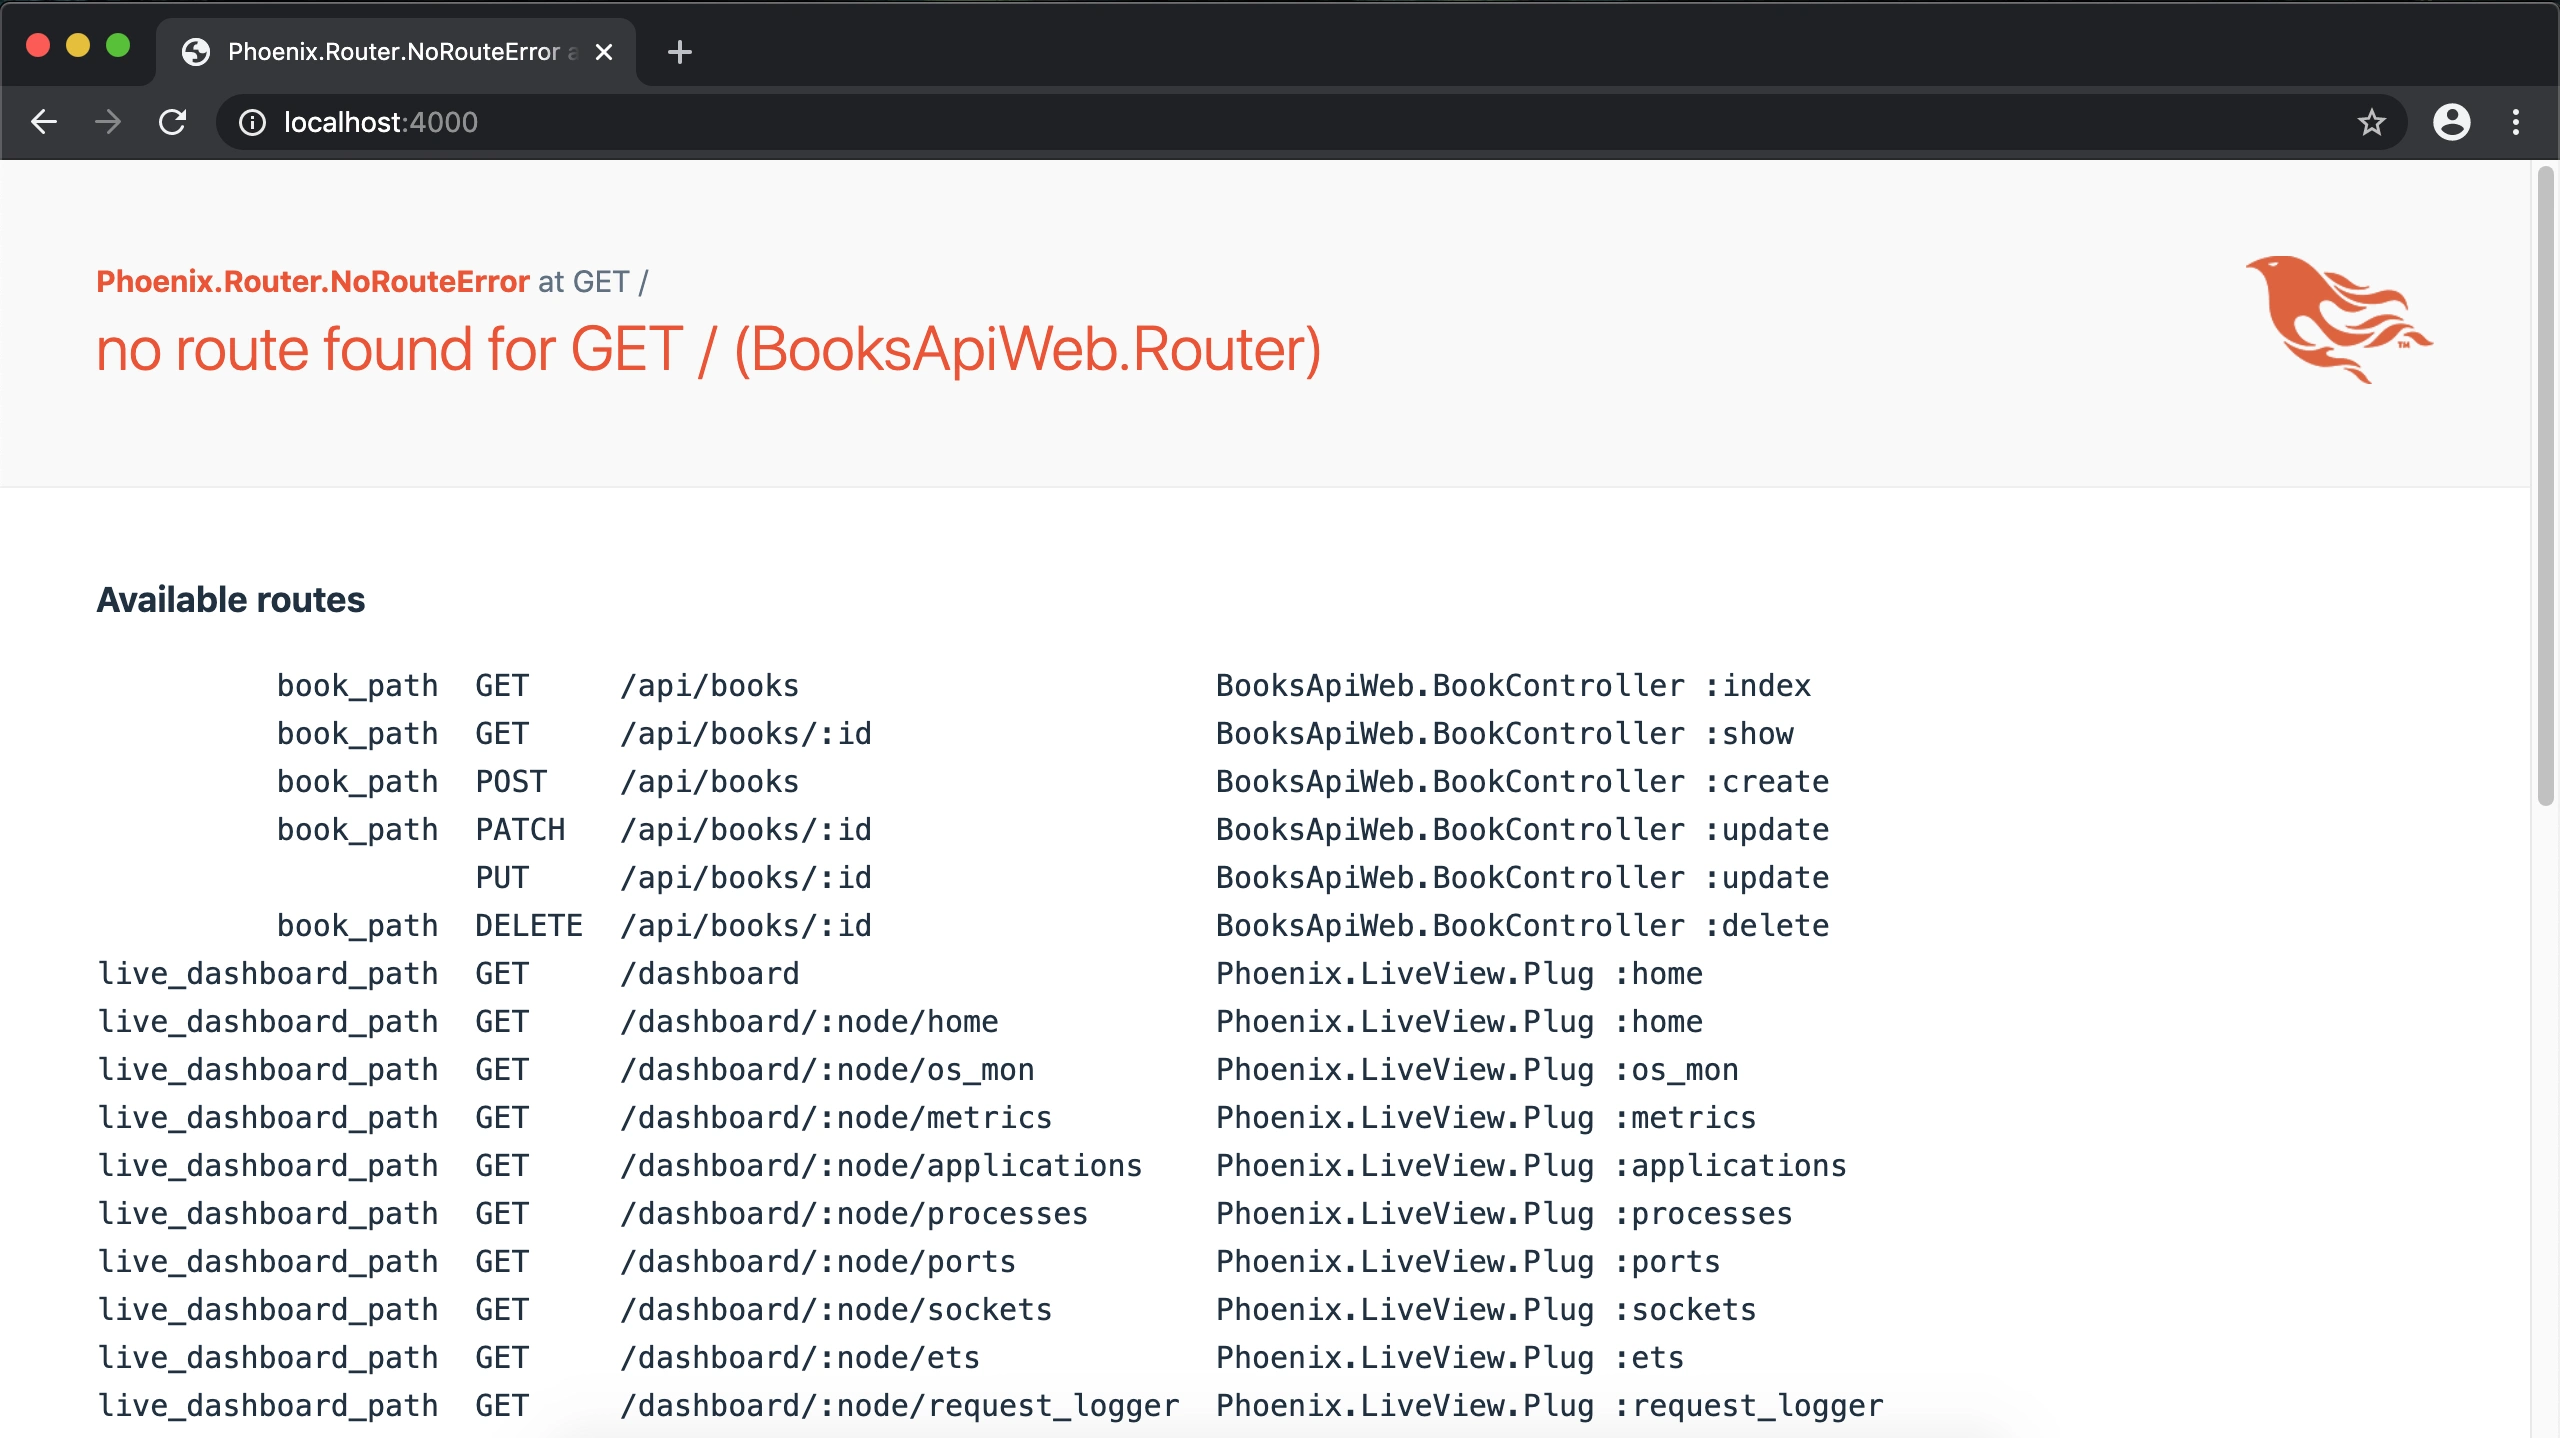
Now visit http://localhost:4000 in your web browser and the following page should appear:

Note the URLs for the Books resource are listed there.
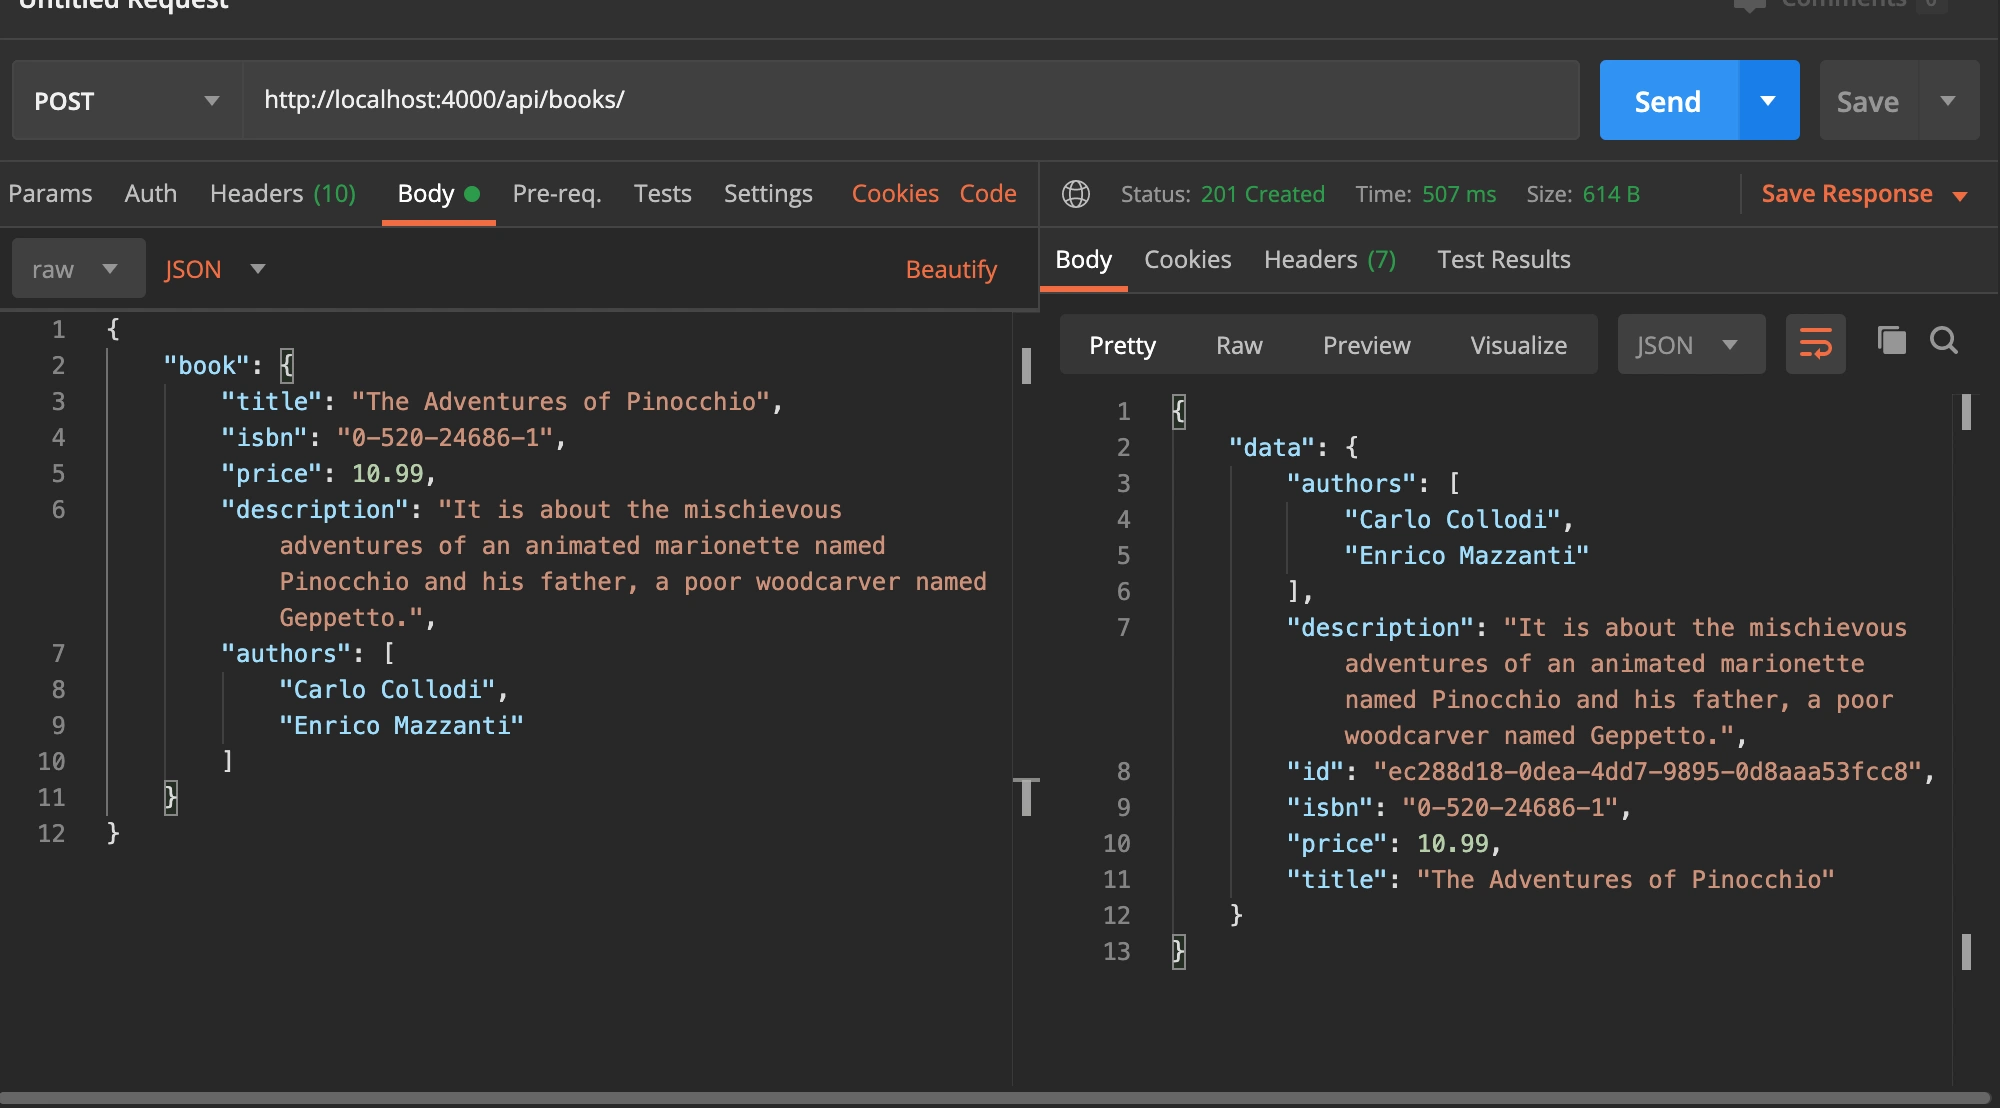
Interacting with the API
So now use the book URLs and paste it in Postman to start interacting with the books resource.

Extra tips
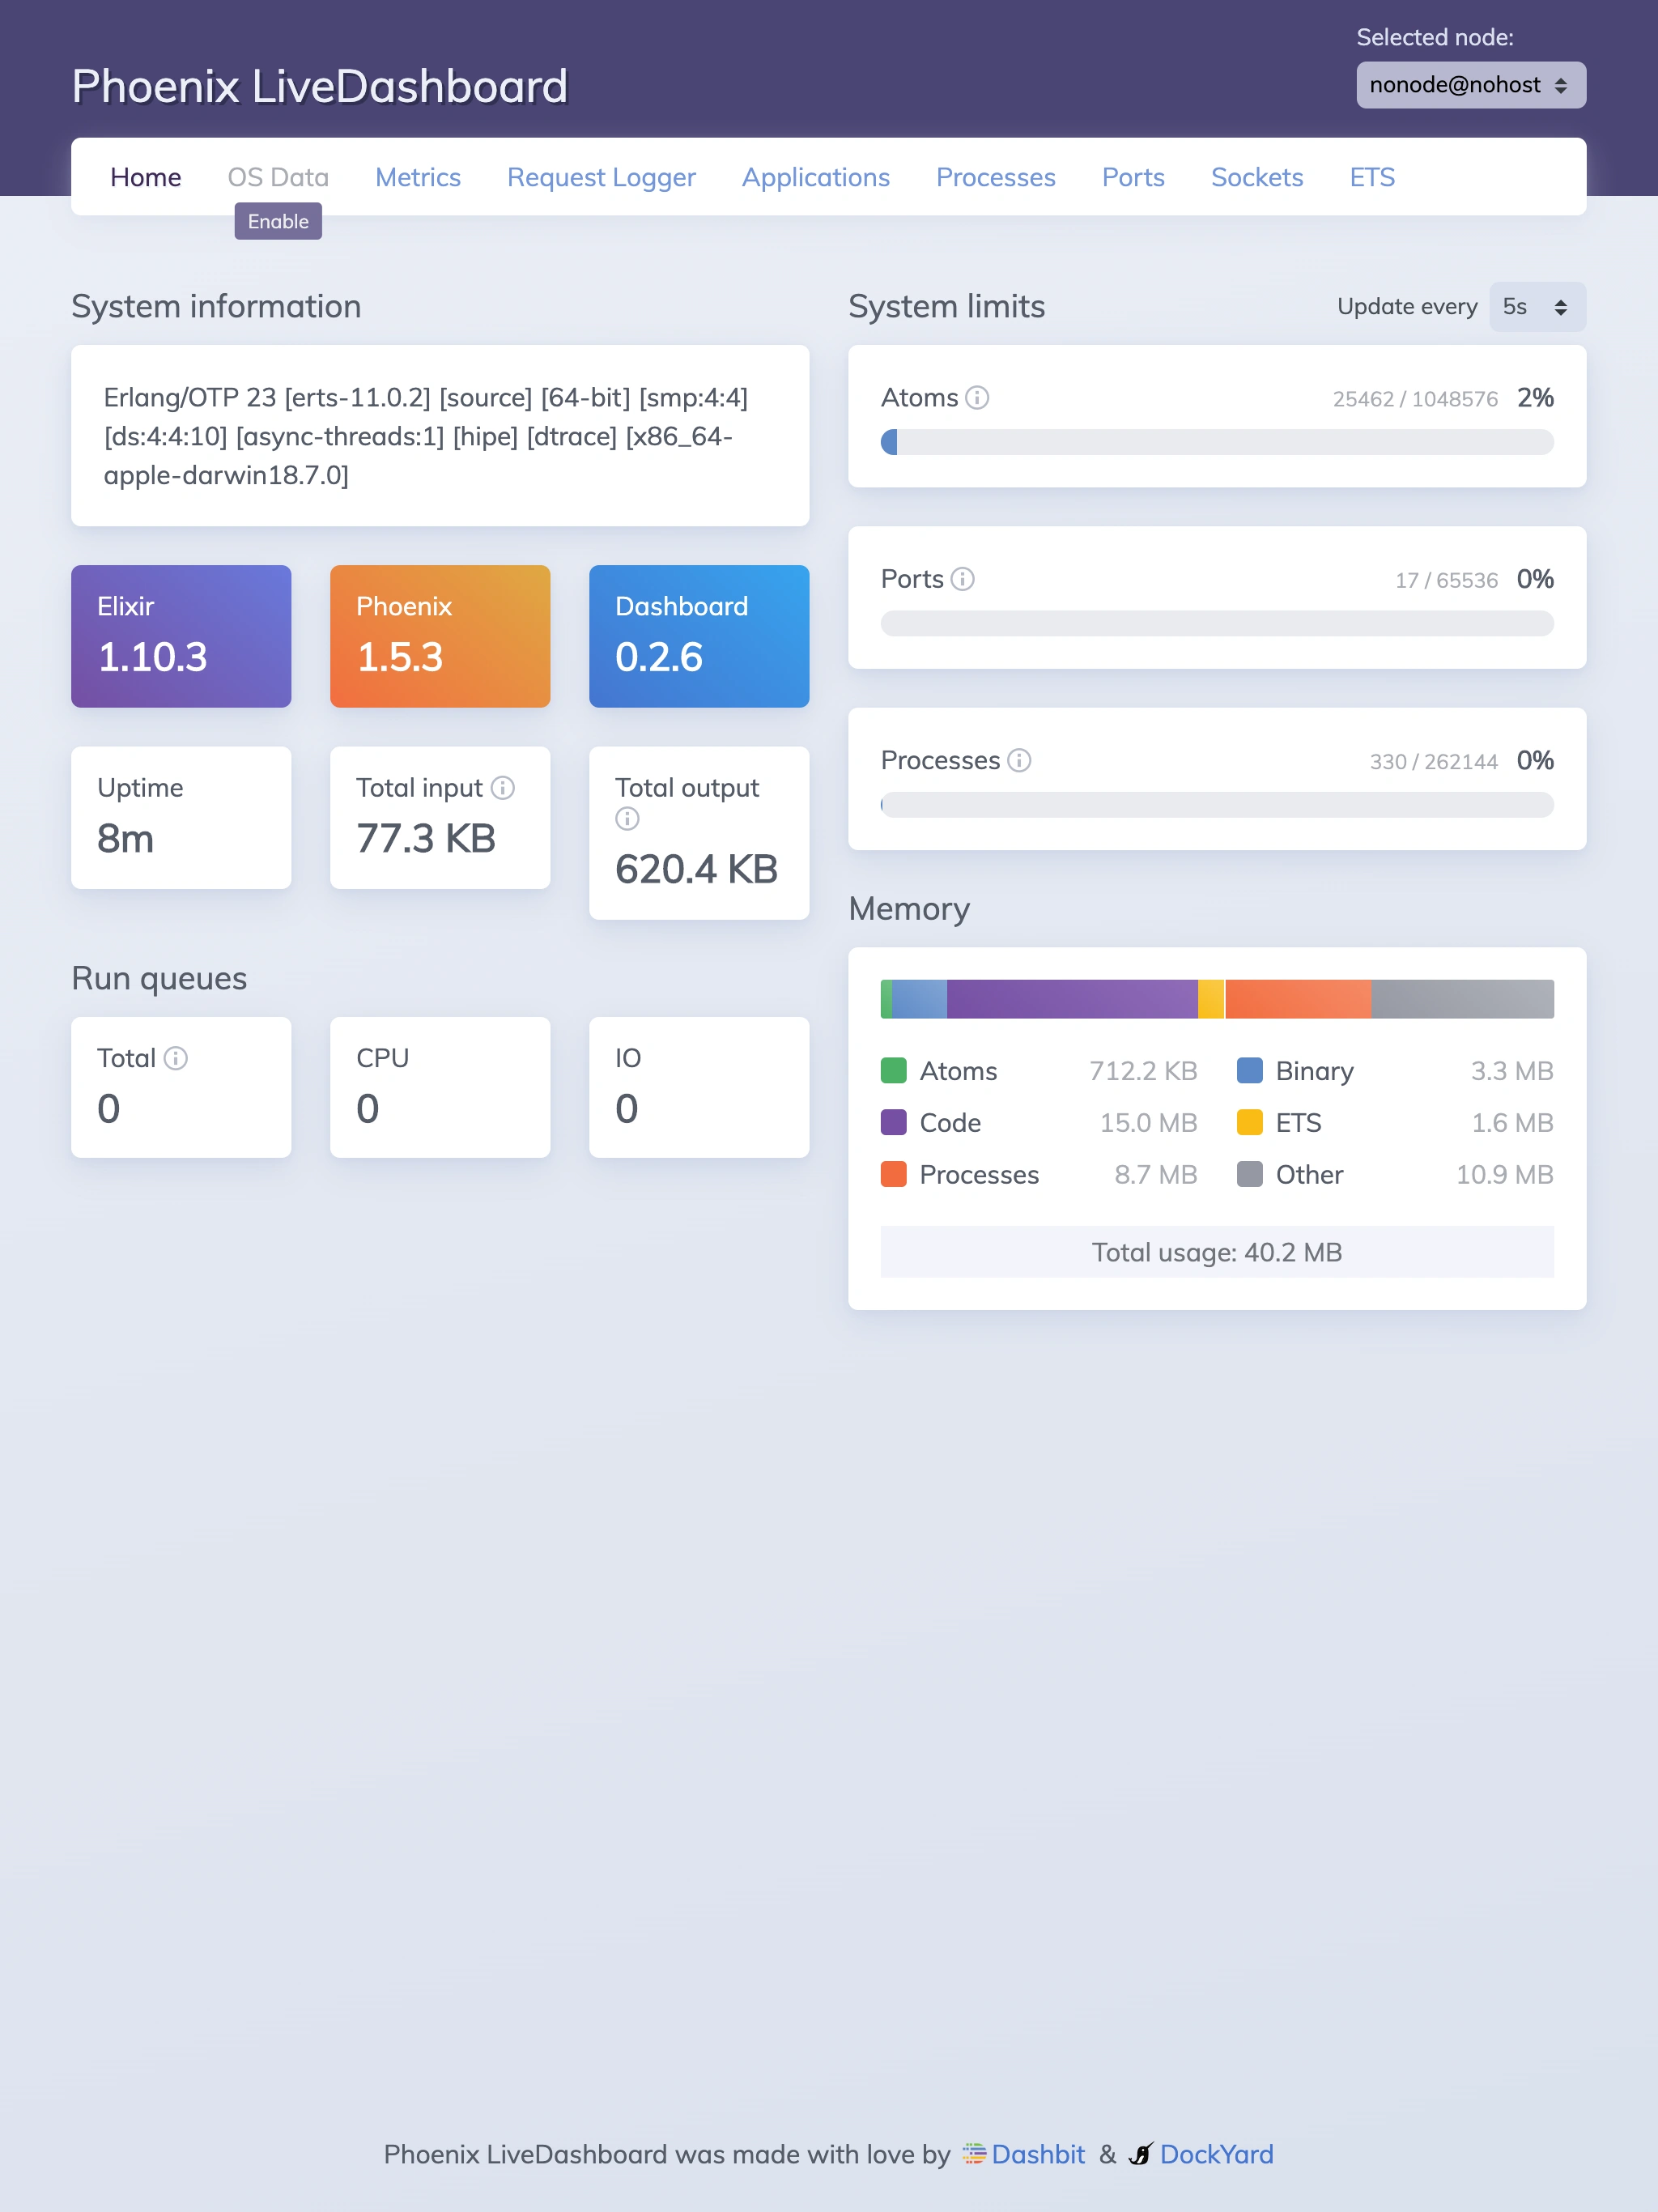
Try visiting http://localhost:4000/dashboard and a nice system dashboard will show up:

This is called Phoenix LiveDashboard and allows you to easily monitor your system and register custom application metrics, but that’s a subject for another post.
To avoind seeing the Phoenix HTML page that lists the routes (Really a 404), you could set debug_errors to false in config/dev.exs, then restart your server:
config :books_api, BooksApiWeb.Endpoint,
  # ...
  debug_errors: false,
  # ...
Now, visiting http://localhost:4000 yields:
{
    "errors": {
        "detail": "Not Found"
    }
}
Thank you for reading!
This was all about the Phoenix REST API Tutorial, while there seems to be a lot of witchcraft and generator magic, all it does is automate the generation of boring CRUD so you can focus on your important business logic, all the generated code is very explicit and can be modified to your needs and code style. I hope you found it helpful and this post encourages you to give Phoenix a try at least for fun. The source code for this simple project lives on my Github: https://github.com/codeadict/phx_books_api.